![[Note]](images/note.png) | Note |
|---|---|
For Fedora/CentOS RPM package installs, please see the section called “RPM Installation Steps” instead. Although targetted for Ubuntu versions, these DEB packages should also be suitable for use on standard Debian distributions. |
![[Important]](images/important.png) | Important |
|---|---|
Before you start on an installation, please make sure that you have a statically allocated IP address, sensible hostname with a fully qualified domain name and that the machine is fully aware of these settings. For more information on these aspects, please consult the configuration guide. |
The first step obviously is to download the appropriate packages for the operating system release, version and processor platform that you intend to run it on. Where a package contains all that means that it is suitable for any processor architecture running that distribution of Linux. Currently DEB packaged versions are available for Ubuntu 16.04 LTS and 18.04 LTS, while RPM packaged versions are available for Fedora 27 and 29. For more information on using the Fedora RPM packaged versions, please see the section called “RPM Installation Steps”
For an initial WACS installation (in this example for release 1.0.0 on an x86_64 machine running Ubuntu 18.04 LTS) you will probably want the following packages remembering to choose whether you want the wacs-for-psql package for PostgreSQL database support instead of the default MySQL for the wacs:
- wacs_1.0.0-1.all.deb OR wacs-for-psql_1.0.0-1.all.deb
- wacs-core_1.0.0-1.all.deb
- wacs-tools_1.0.0-1.all.deb
- wacs-samples_1.0.0-1.all.deb
- wacs-hostauth_1.0.0-1.amd64.deb
If you also wish to make use of the Wacs-PHP API, The AJAX enabled dynamic search tools, the Web 2.0 demo or the Simple Skin sample web site, you will also want the following files:
- wacs-php_1.0.0-1.all.deb
- wacs-php-skins-simple_1.0.0-1.all.deb
If you plan on making use of the download toolset to connect to subscription sites for automatic downloads (although do be aware that only a very few sites are still supported), you will also want to get the package called wacs-download_1.0.0-1.all.deb. You may also wish to download one of the two versions of the documentation package: wacs-doc-pdf_1.0.0-1.all.deb or wacs-doc-html_1.0.0-1.all.deb - you can always access the same documentation direct from our sourceforge web site.
Once you've downloaded the right packages, you need to do the package installations. There are any number of ways to do this, and you can pretty much use any of them; we recommend use of the gdebi package manager which is an optional package that you will almost certainly have to install first. This can be achieved using a number of the standard Ubuntu tools including apt-get install, aptitude or by using the Ubuntu Software Center. We have not used the Ubuntu software center, aptitude or synaptic package manager in these instructions because those only really cope with software provided by the main Debian repositories. The gdebi mixes it up allowing the installation of a locally downloaded DEB file, combining it any packages it depends on through the normal package repositories mechanism. Unfortunately sourceforge.net does not, as we are writing this manual, support the creation of debian style package repositories.
![[Note]](images/note.png) | Note |
|---|---|
Additionally it is usual for GDebi to be configured as an action listed on the actions (right click) menu in the GNOME file manager as installed on Ubuntu for debian packages. You can use this method instead if you prefer. |
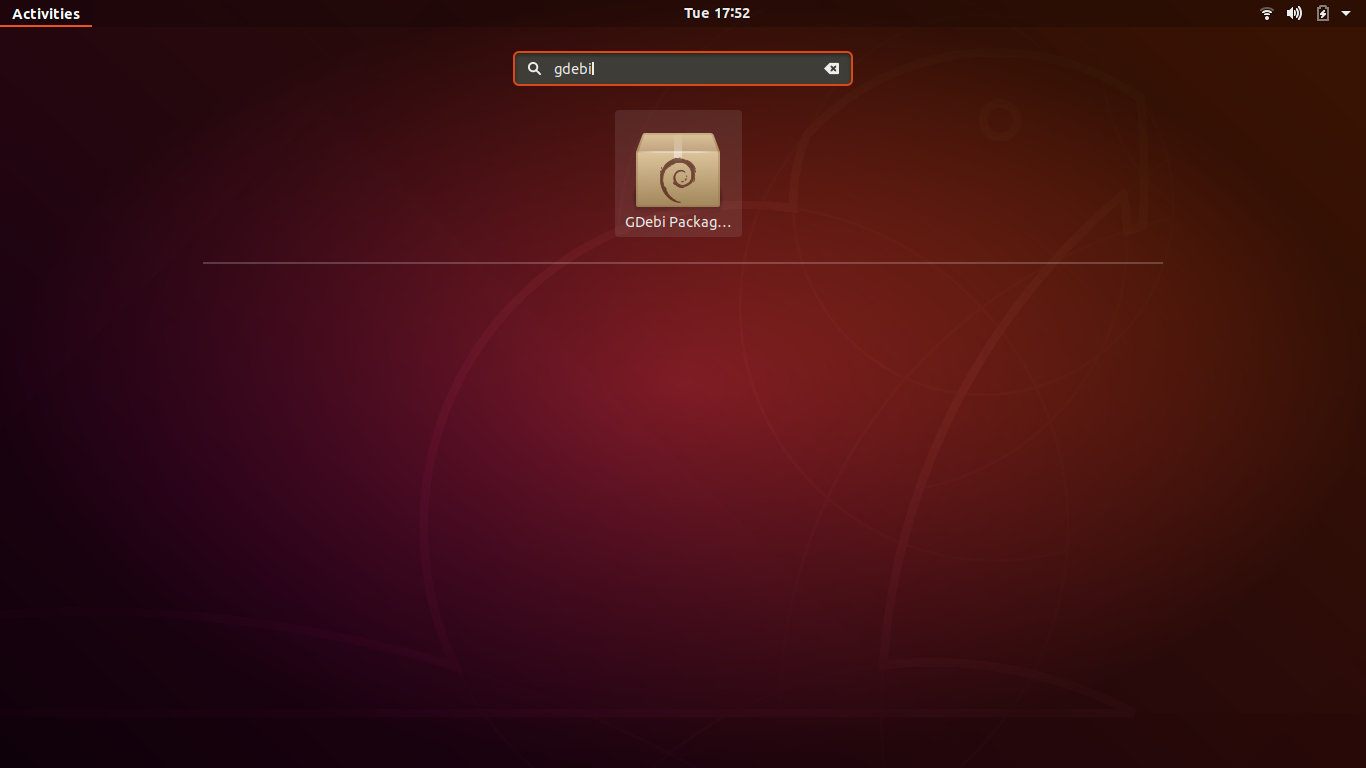
Once you have installed gdebi, the easiest way to start it up is to click on the Meta (Windows) button and search for it as shown below. Using the file manager to browse to your downloaded files, and then right clicking on the files works too. We're going to show you the pure gdebi way so double click on the icon to start it running:
 |
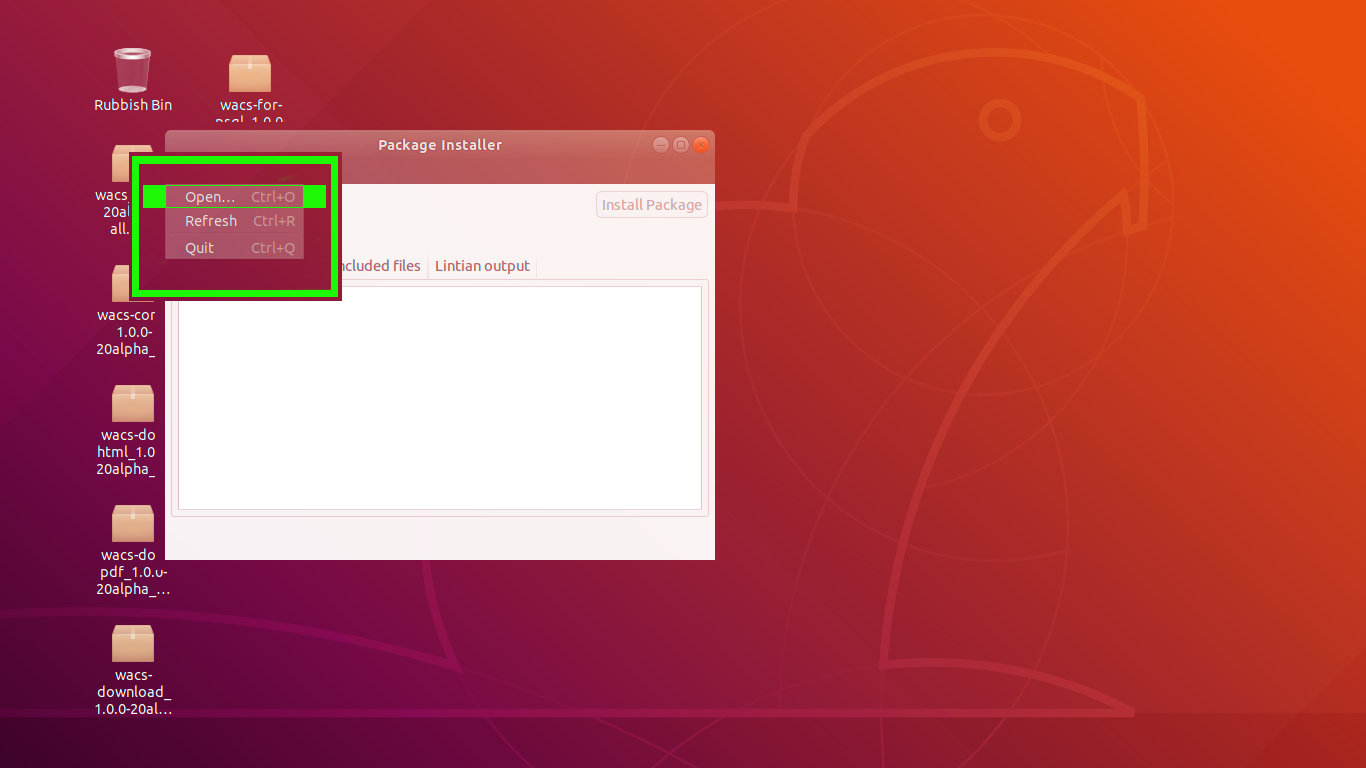
Once gdebi is running you use the File menu Open option to open each DEB package file in turn. The order on this is a bit tricky, but if you start with wacs-core and wacs-hostauth, then do the other packages and finally do the main wacs (or wacs-for-psql ) package, this should work out OK.
Here we have all of the Wacs packages for Ubuntu/Debian downloaded
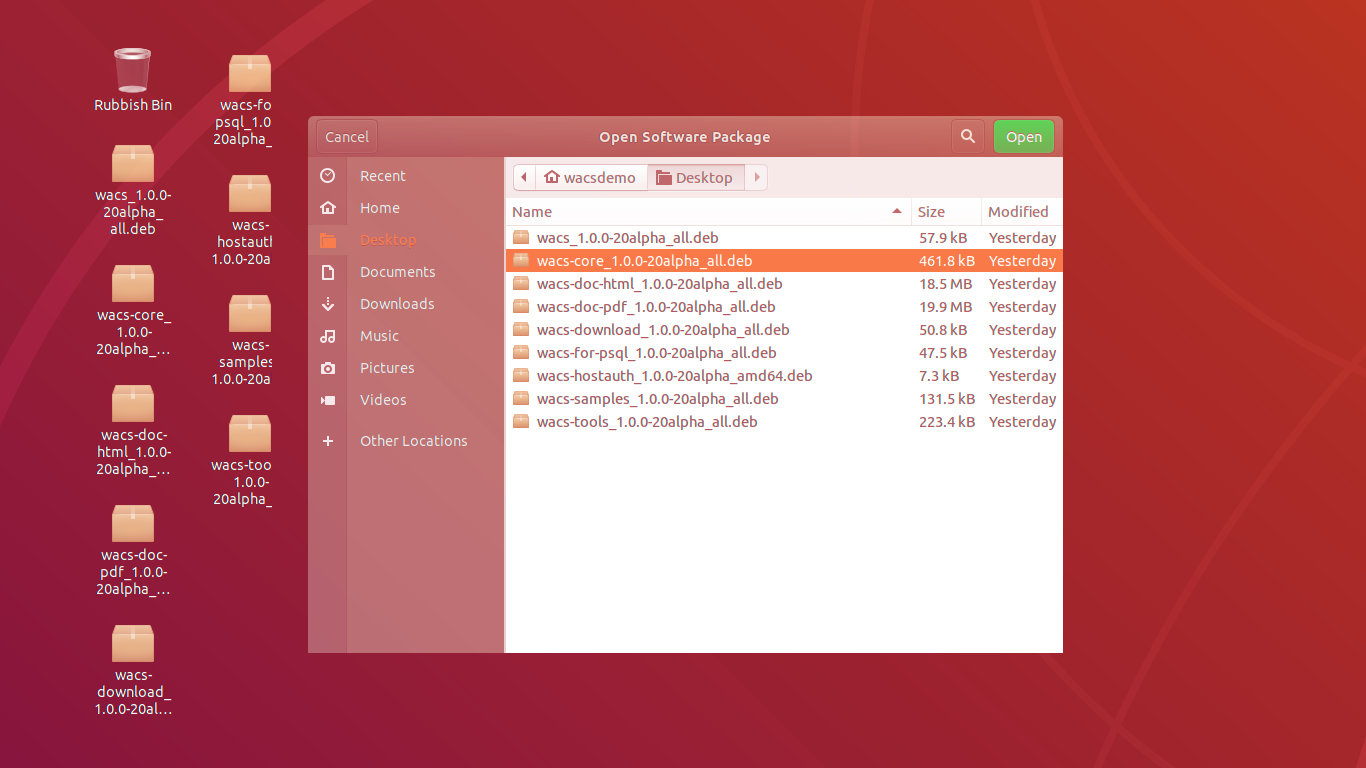
onto our desktop and we start work with wacs-core_1.0.0-1_all.deb
. We choose File -> Open in gdebi as highlighted
in green below:
 |
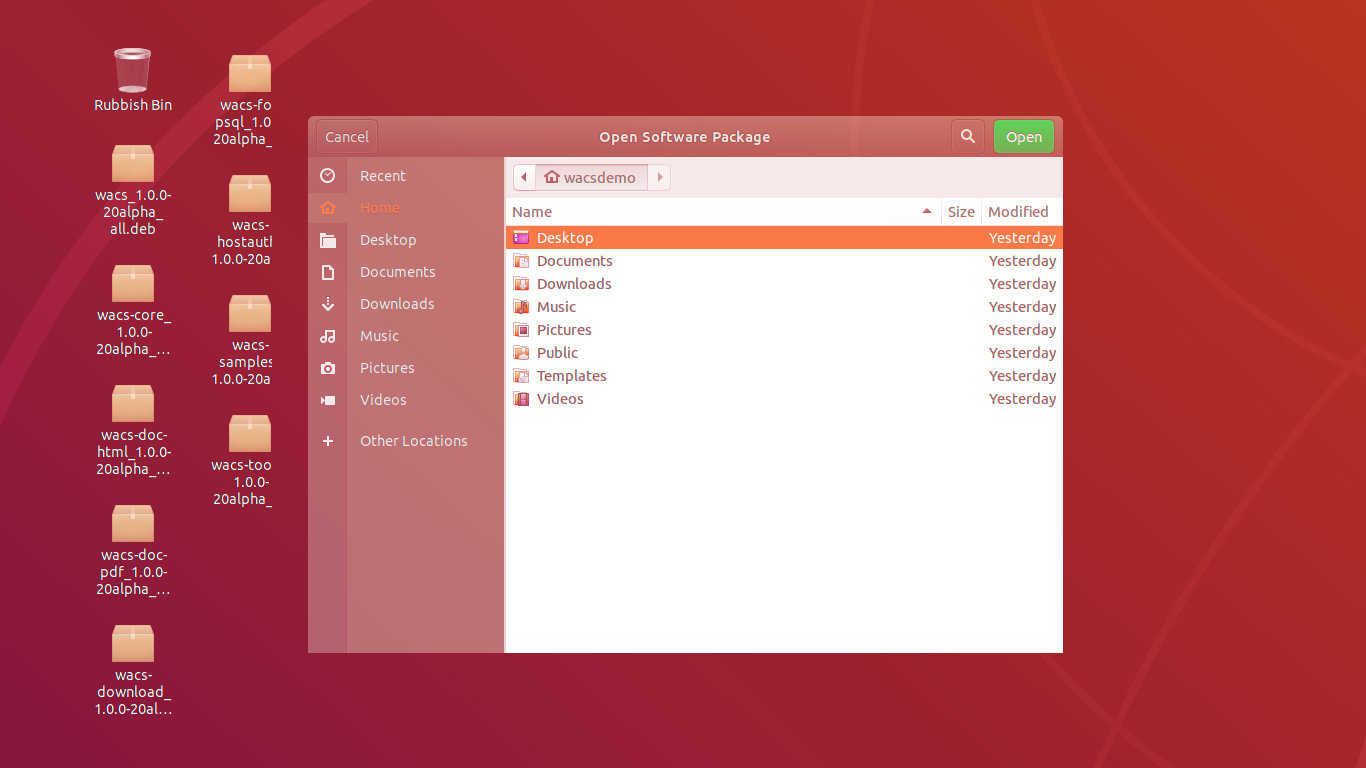
At this point the Open File browser will appear and offer you a
number of the most common locations to find the files you are looking for.
In the illustration below, we're looking in the top option
Desktop for the files as we can see them on the desktop behind
the Open File Dialog box of gdebi.
Other likely locations are the Downloads directory or
your home directory. The screenshot below shows this step:
 |
The next step is to select the first of the packages for installation - this should always be wacs-core as this contains the basic bones of the WACS installation that are needed in all cases. The screenshot below shows this being selected in gdebi:
 |
Clicking on the Open button will cause a summary
screen to appear, detailing the basic information about the package you are
about to install. This is shown below - a key item to look out for in this
screen is the bit where it says Status: - sometimes this
will say as it does in this screen that All dependencies are satisfied
but on some occasions it will say how many additional packages need
to be installed. This can be a quite large, sometimes as high as twenty or
thirty packages:
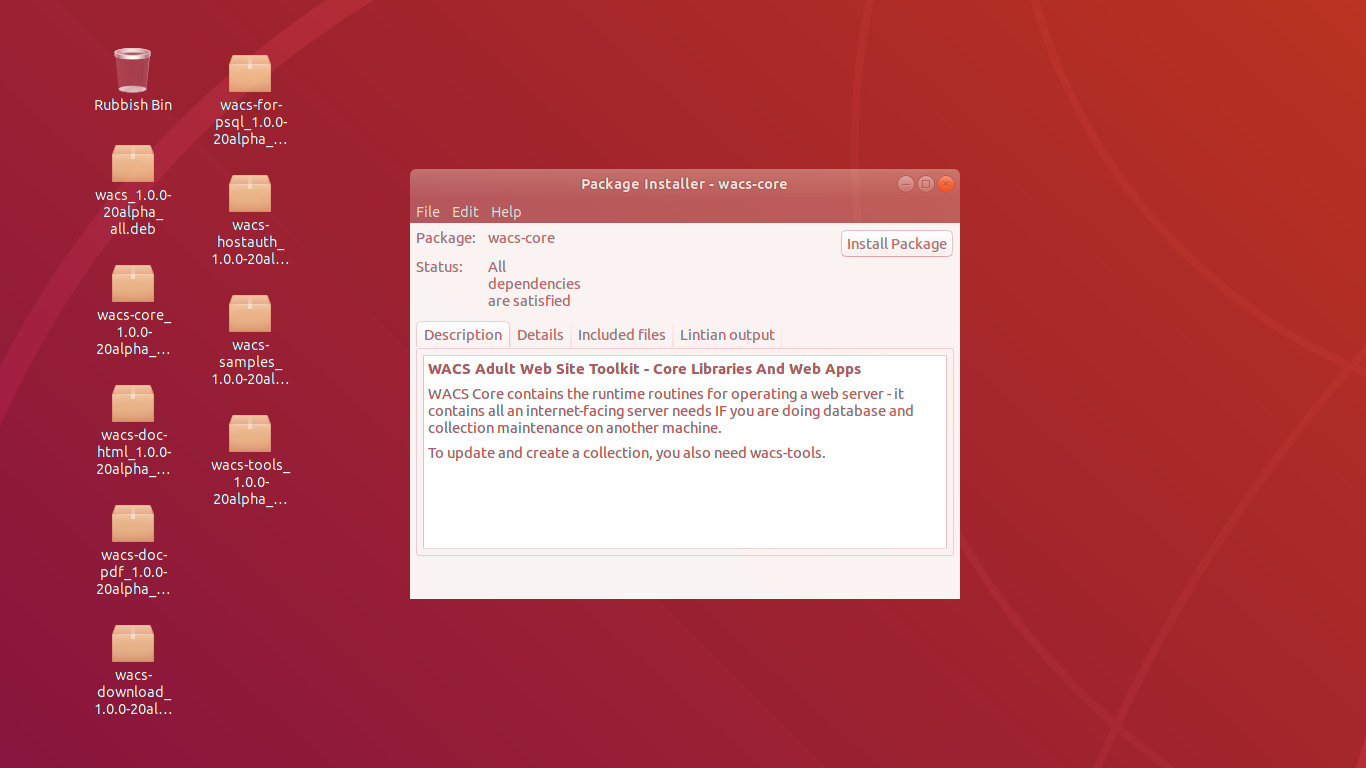 |
While this 28 packages figure may sound high, it's what is actually needed in terms of software infrastructure (libraries and helpers) for all the Wacs packages and these packages will be requested by whichever Wacs package is installed first. Similarly, if you've already installed any of these prerequisite packages on behalf of another application, the number needing to be installed now will be greatly reduced. What we are installing here are things like the apache 2 web server, the php7 programming language, and a range of special libraries and tools that we use when accessing media files like photos and videos. These will also include all the various Perl and PHP modules we use for database access and the like.
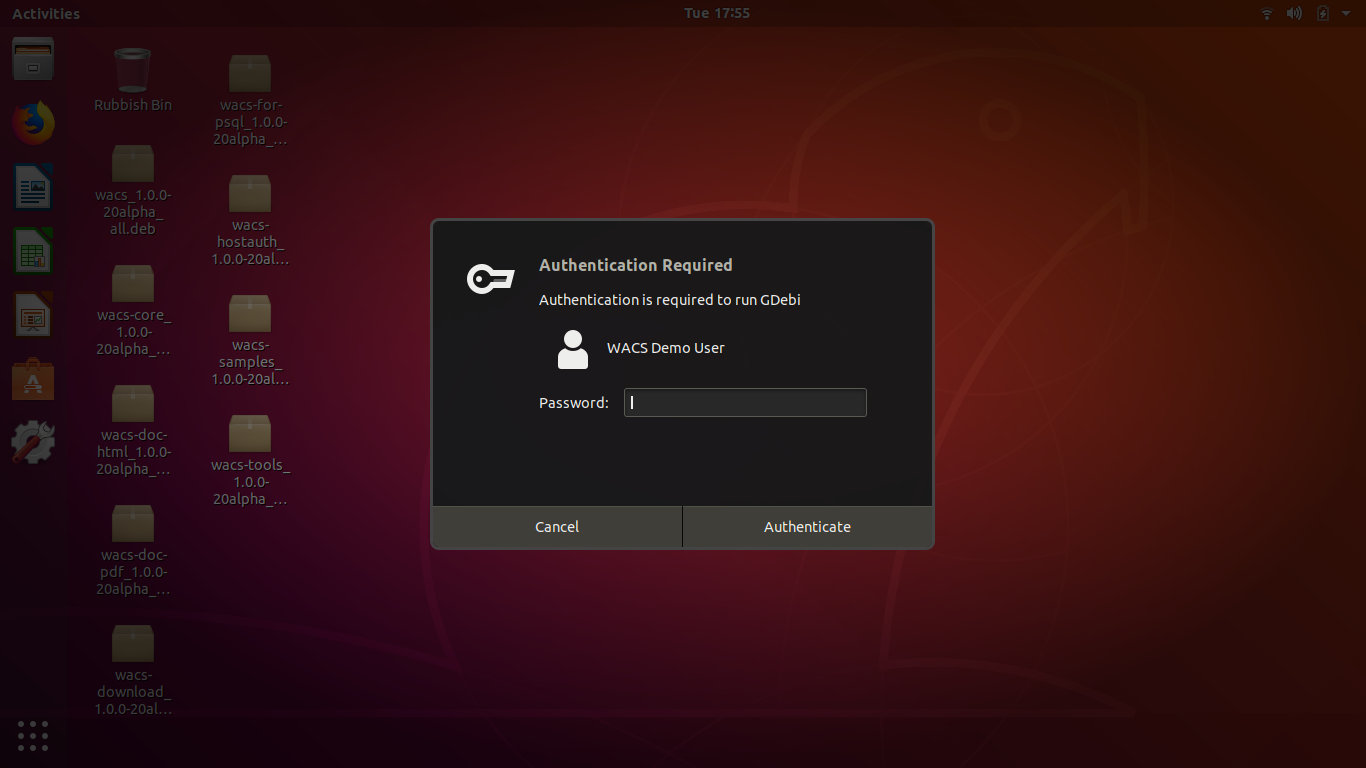
We click on the Install Package button and an additional dialog box may appear requiring Authenication as illustrated below:
 |
Initially a pop-up box appears saying
Installing dependencies....
This part of the installation procedure can actually take quite a while
because on a normal Debian desktop install many of the requested packages
will not be available locally. It will therefore make a connection to the
internet software repositories and download the likes of
MySQL 5/PostgreSQL 10, apache 2, Php 7 and the perl modules
required.
However under some circumstances you may notice that it doesn't show any progress through this process. Although this was mainly a problem with earlier releases, it can still happen. Sometimes the cause is issues with your internet connection or the configuration of your package manager, it can also be that an older package is requesting some user intervention. You can click on the down arrow by the progress bar to expand the Terminal window and see the actual problem. Once you have attended to this, the install process should continue normally.
Once the dependencies have all be installed,
the wacs-core package itself will be installed last.
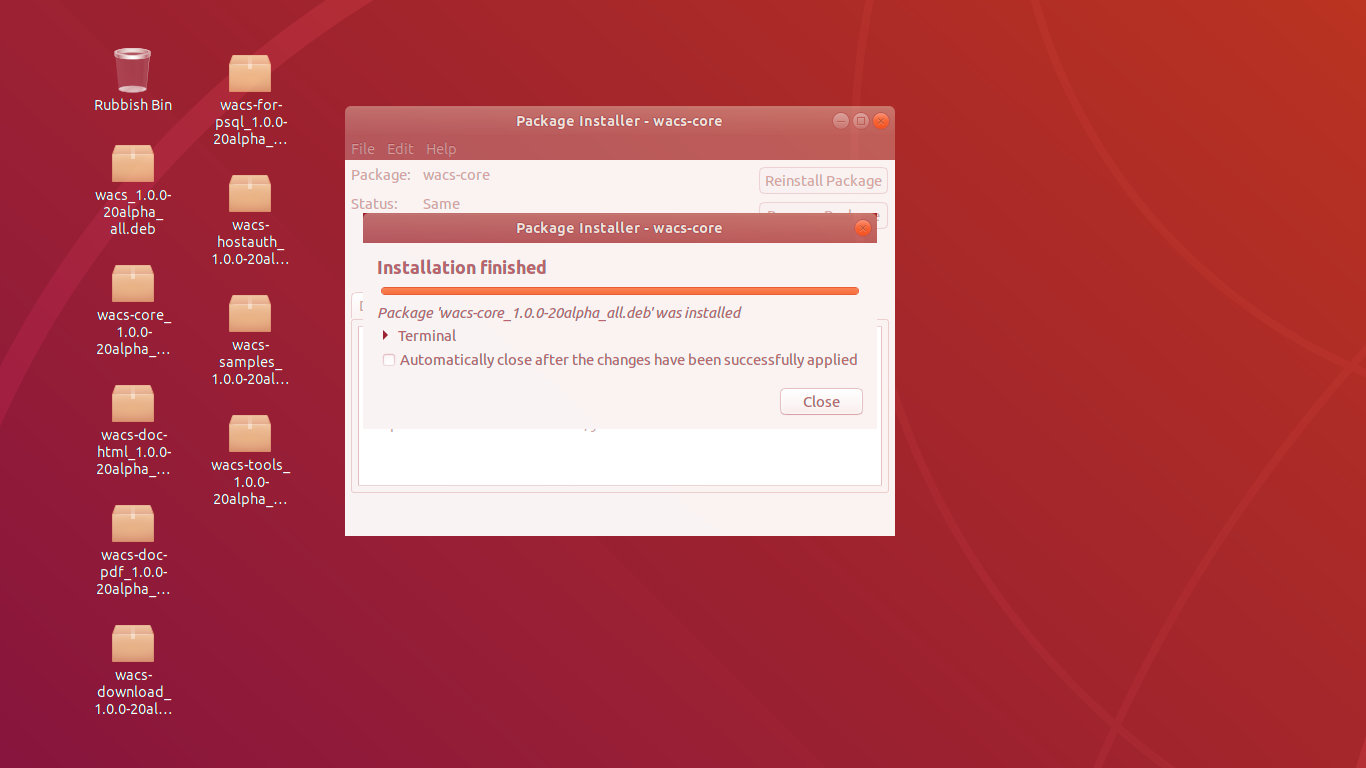
Finally we should see the message Installation finished
but of course this is merely for wacs-core - the
installation of the Wacs environment as a whole is not yet complete:
 |
You now need to repeat the same steps for the other packages; we would
suggest installing wacs-hostauth next unless you are only
planning to use the internal database for user authentication. Even then it
can be useful to have the wacs-hostauth package installed
for initial setup and testing. Unless you are doing all the media ingest
operations on a separate workstation with connections to the database and
the storage, you will also need wacs-tools. You almost
certainly also want the documentation set in one form or another so choose
one of wacs-doc-pdf or wacs-doc-html;
both is fine too - they don't actually take up that much space. We would
also suggest that you do install the wacs-samples package
as well as several of the samples (attrib.xml and
keywords.xml) are pretty much essential to getting the
initial system up and running. You can choose not to install our sample
models and vendors at the setup stage if you don't want those.
When we get to the wacs package itself, we use either the MySQL 5 version (default) or the wacs-for-psql for PostgreSQL support. There is no difference in the actual version of WACS provided, just in the configuration files and actions it takes for the respective database types. If you intend to use a different database like Oracle 12, you can select either of the wacs packages - the code is the same.
The main wacs package comes last; the reason for this is that the wacs package is the “glue” that holds all the parts of Wacs together. In due course we'd hope you could merely install the wacs package itself and have all the pre-requisites automatically installed. Unfortunately the current package managers that do the dependency resolution all steadfastly refuse to include other manually downloaded packages in that dependency resolution process, and so it fails. As soon as sourceforge.net starts offering the ability to create package repositories, or we can get Wacs accepted into the repositories of the major distributions, these problems should all disappear.
Once they're all done, you should be ready to proceed to the next step. We have worked hard to get the packages to do as much of the initial setup as we can and you should at this stage be able to simply move on to running the wacssetup which we will cover in the next chapter Chapter 6, Creating The Initial WACS Databases.