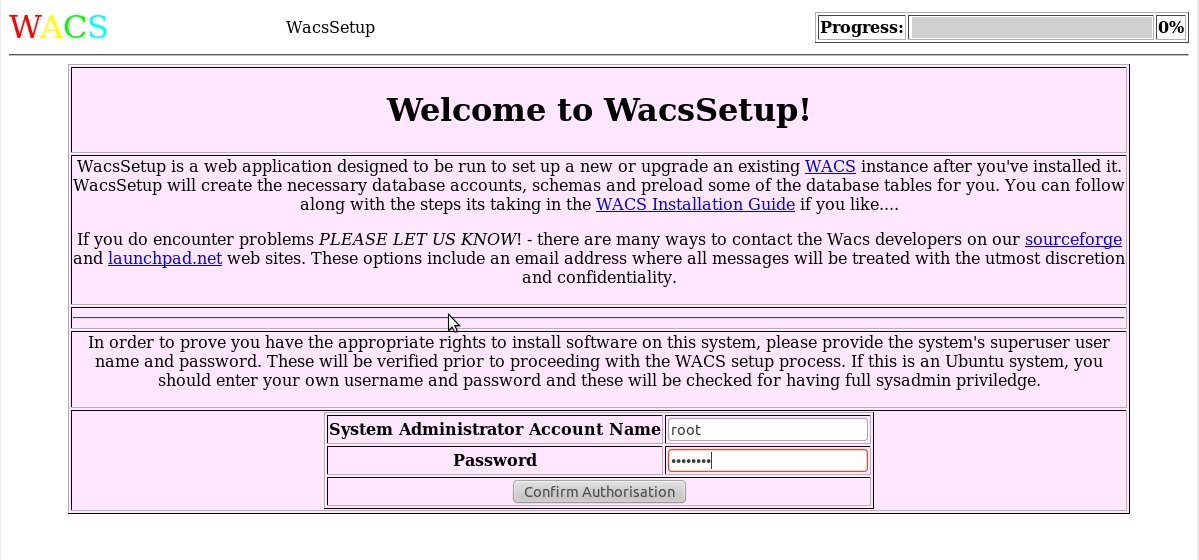
In this section we'll actually go ahead with the database schema upgrade using wacssetup. The first screen should be familiar from when we performed the original installation. The need to authenticate our right to make drastic changes to the system remains exactly the same!
 |
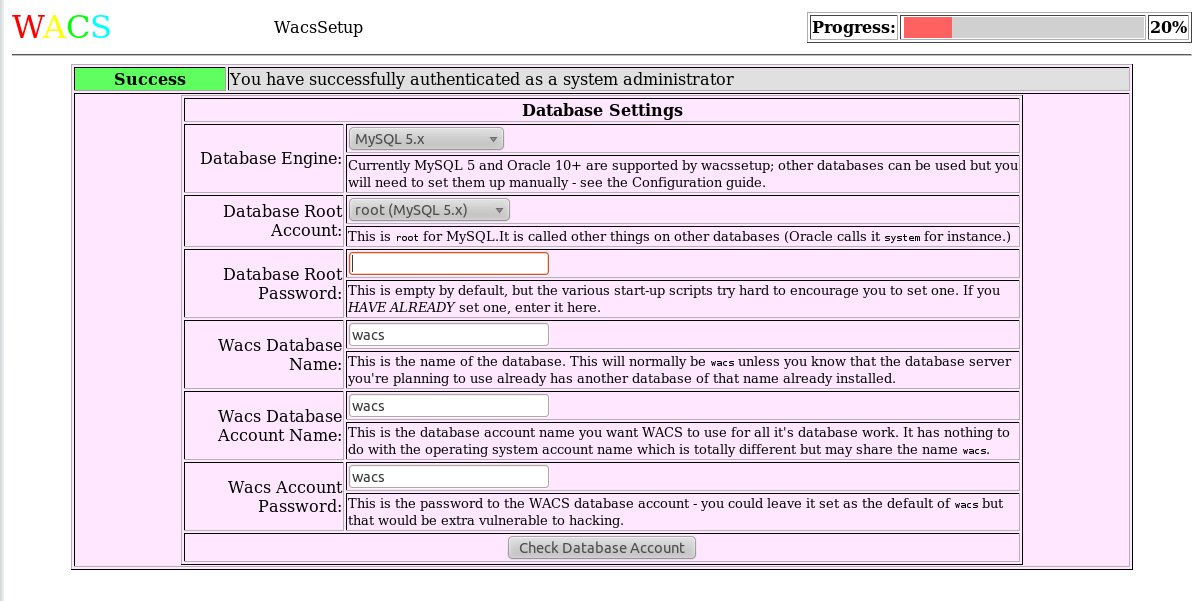
Once we've authenticated, we now need to specify how we're going to
connect to the database. Do remember to enter the database's administrator
password at this point if it's been set. The default values are filled in
automatically from the wacs.conf file so this should
be correct in a virtual server environment with multiple wacs instances.
 |
It's once we've covered the two authentication steps that things suddenly change. As you can see below wacssetup has detected an existing installation and is now prompting us with a link to wacsschema to check and make the necessary schema changes. wacsschema will know that it's being called by wacssetup and will change it's responses slightly as a result.
 |
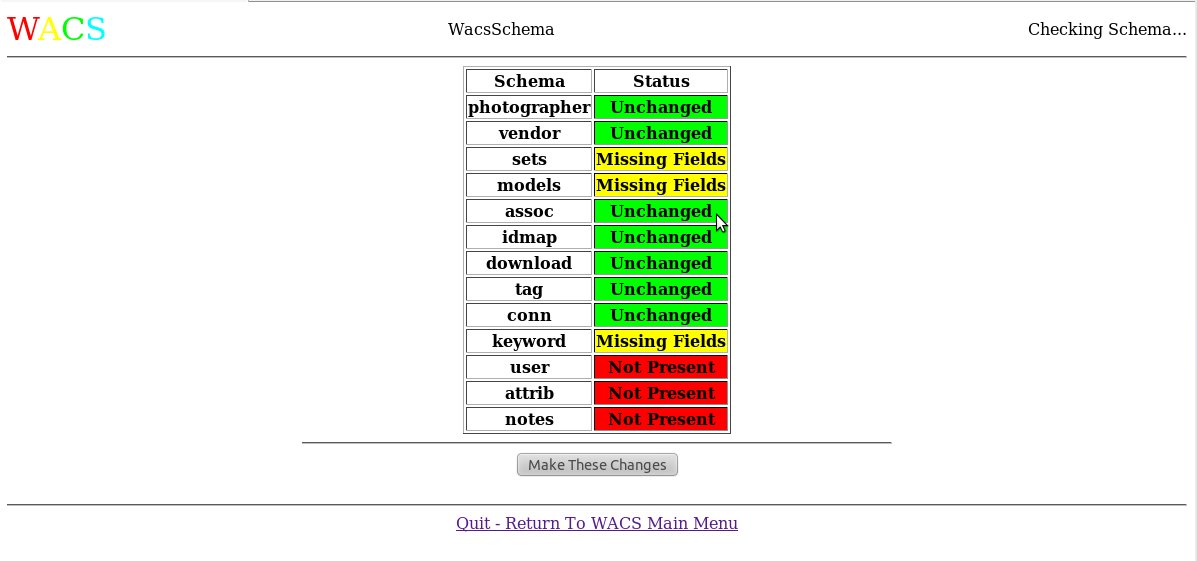
As we saw earlier when discussing wacsschema as a free-standing application, it first asseses the situation and then asks us for confirmation that it should take the actions it has determined are necessary.
 |
And here is the result when we actually click on the Make
These Changes button and have wacsschema do it's work.
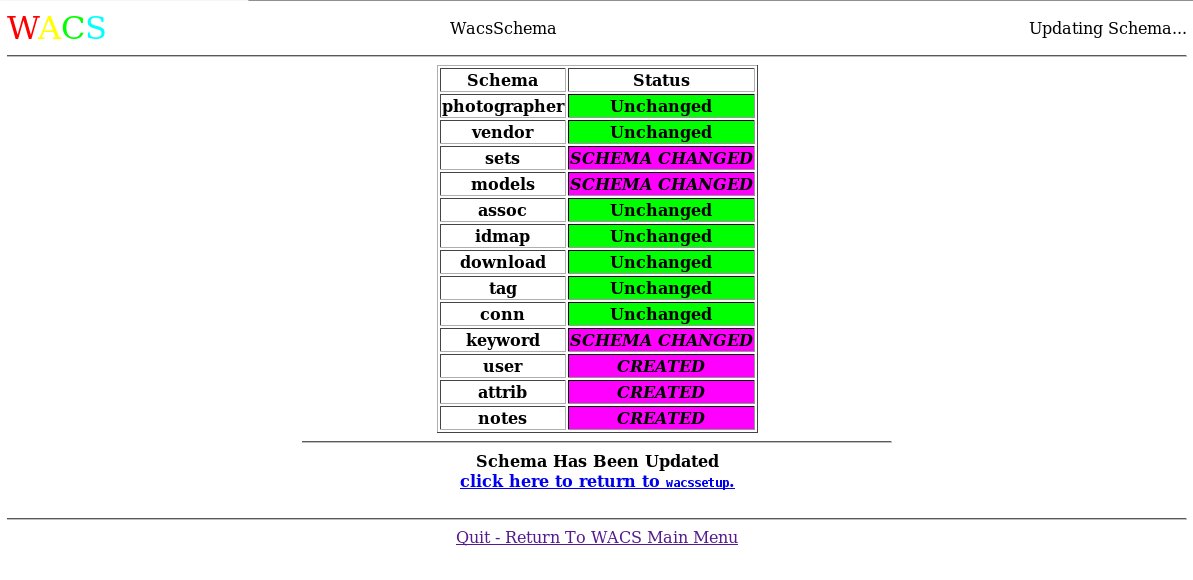 |
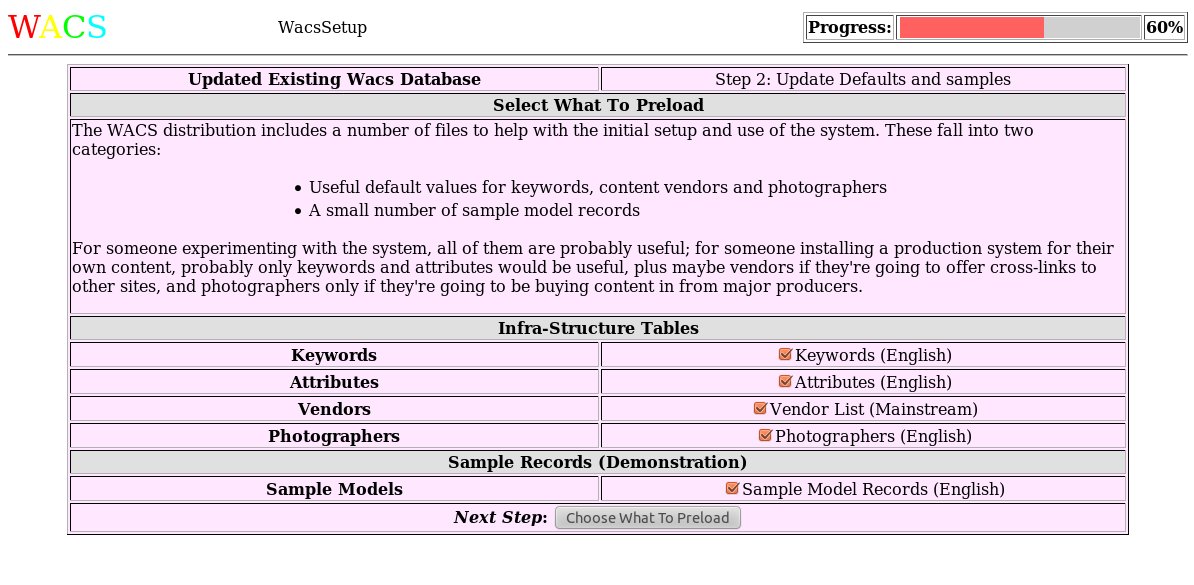
On completion, it gives us a special link back to wacssetup which continues where it left off. In this case it's the preloading of database values. As with the original setup run, we can choose which files we want to load.
 |
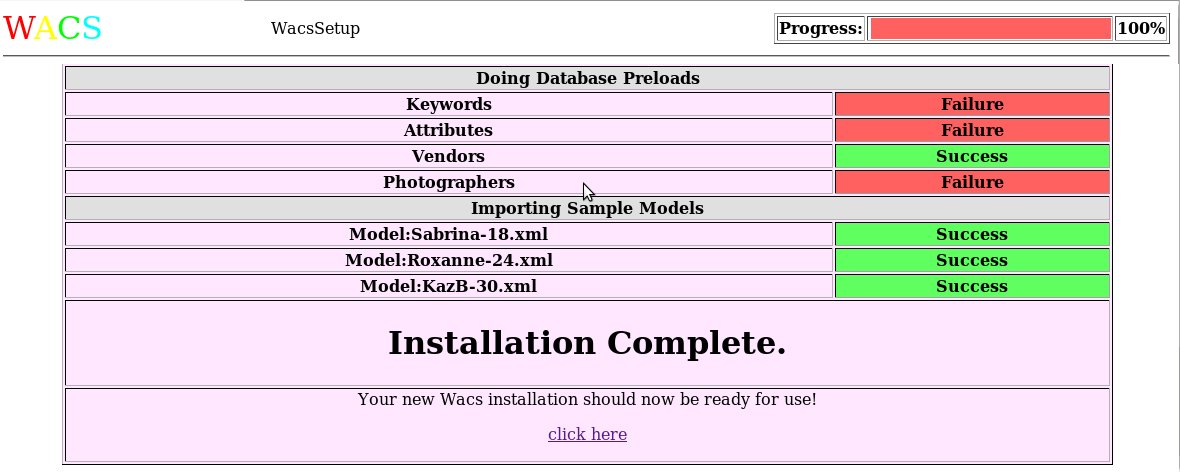
And now we reach the end of the process. Note that some of the database preloads have failed in our example. This should not actually pose a problem and merely indicates that certain records already existed and could not be overwritten. So long as the WACS system is working, this isn't an issue.
 |
And so we have now upgraded the database schema to the new version and can look forward to making use of the exciting new features coming in Wacs 1.0.x.