So now you've seen a quick overview of the model manager, let's actually do something useful with it. The first thing we're going to do is to actually create a new model record. For this we're going to use Roxanne as an example, making use of the two icons we created in the previous chapter (Chapter 5, Preparing To Create A Model Record). If you already have Roxanne defined, there's nothing to stop you using any other model's photo you happen to have lying around to work through this example.
We start off the process as before by going to the main menu and selecting Model Manager from the Maintenance menu. Once again we enter Roxanne into the model name box and click the Find Model By Name button. We get the same choice as before but this time we select next as shown:
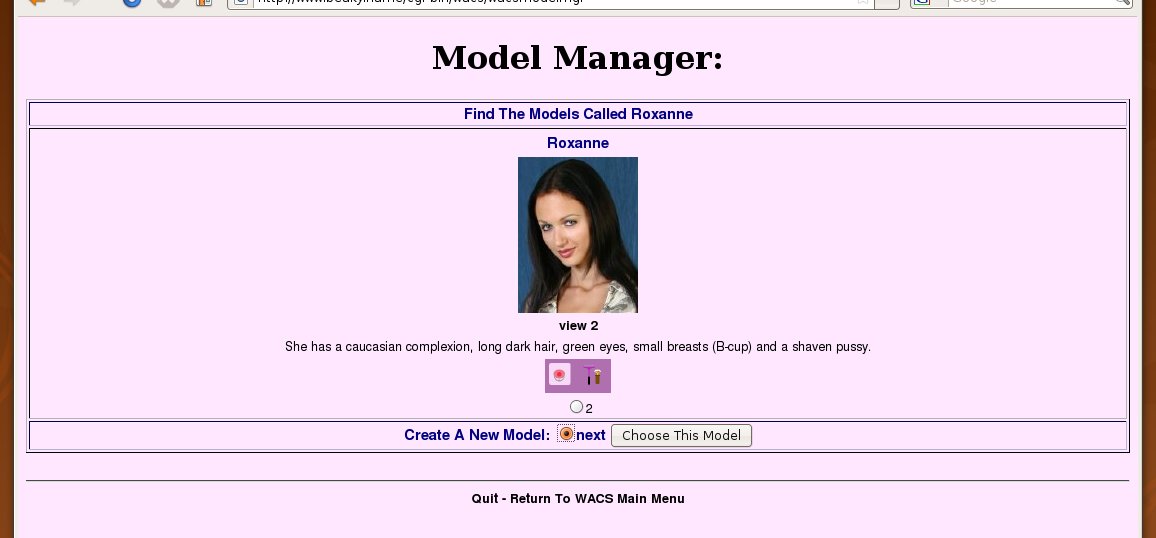 |
If you now click on the Choose This Model we
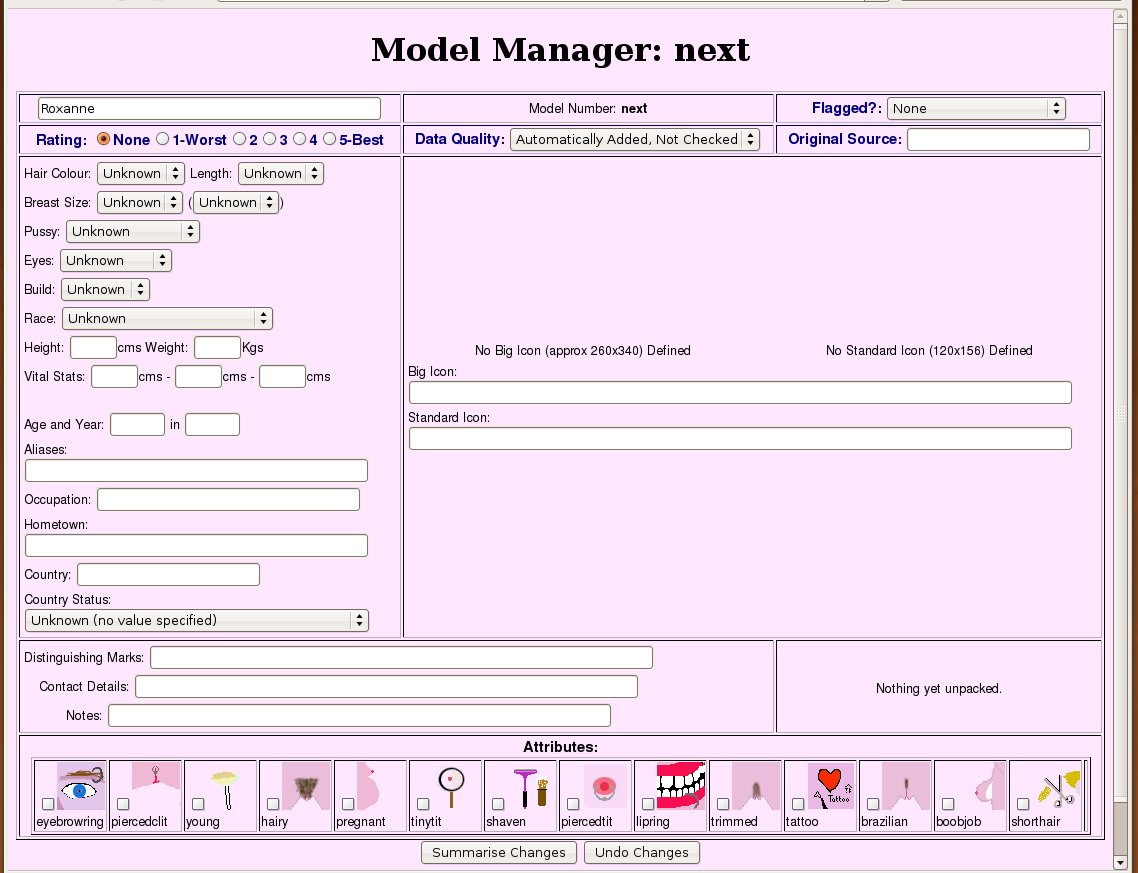
move on to the next screen which will be a blank template for you to
fill in. Initially only two things are filled in -- the name of the
model (ie Roxanne) and the pseudo model number of next.
 |
![[Tip]](images/tip.png) | Tip |
|---|---|
If you already loaded the sample Roxanne record onto your Wacs test system, you may wish to rename this new record to Roxanne A - you can do this easily by just adding the A bit on the name field at the top left corner of the model manager screen. |
![[Note]](images/note.png) | Note |
|---|---|
What's this about next?
What happens is that when we've finished working with creating this
model record and actually save it to the database, |
Let's start with the basic model attributes - the colour and length of her hair, the size of her breasts and the way she keeps her pubic hair. These are to be found in a group in the upper left portion of the main model manager screen.
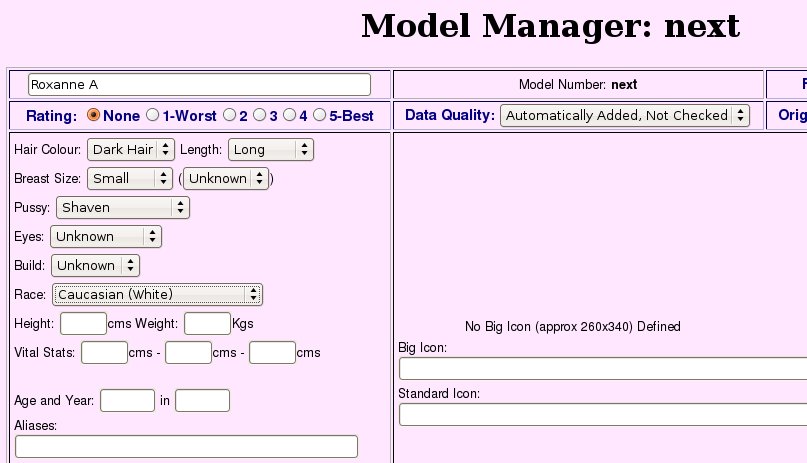 |
Hopefully the choices for hair colour and length are reasonably self- explanatory - the key thing to remember here is Usual. If she usually has long hair, and then suddenly appears on a couple of sets with a short bob cut, the length should remain long (although you might wish to manually flag those sets with the shorthair attribute - how to do this will be covered in Chapter 9, Wacs Set Manager). The pubic hair value should only be shaven if her pussy is completely shaven; a Brazilian style shave leaves a small tuft of pubic hair above her clit but nothing on either side. Note that this is such a decider for some people that we actually mark up sets whereever we can with an attribute describing the pubic hair style.
The breast size value is much more subjective but our take on it is based upon the probably apocryphal description of how to decide when a young woman needs a bra - simply put “Will a pencil put underneath her breast stay there?”. The table below gives our rules of thumb for these values:
Table 6.1. Breast Size: Our Take
| Value | Icon | Description |
|---|---|---|
| Tiny | Rolling the pencil up her chest, the first bump you notice is her nipple... if at all. This should also be marked with the tinytit attribute. | |
| Small | Rolling the pencil up her chest, it stops when it reaches the underside of her breast but probably wouldn't stay there. | |
| Normal | The pencil will stay there, no problem. | |
| Large | Hey Lady, Where's My Pencil? |
One final aspect we'd just comment on in this area is that of race - most of these should hopefully be self explanatory except that we have divided up Asian into two using the traditional British descriptions - the word Asian is used for complexions native to the Indian sub-continent while Oriental is used for those from South-East Asia and the Chinese sub-continent. Hopefully this distinction is reasonably obvious.
 |
The next section we're going to look at is the fields for entering
the names of the previously prepared headshot icons. As discussed earlier
the files need to be copied into the directories specified for
modicons and modbigicons in the
wacs.cfg file. You do need to include the file type
extension on the end of these filenames. It's perfectly OK to place
icons into sub-directories of the model icon directories, and to give
the relative pathname including directory path components here.
 |
Finally down the bottom of the model manager main screen, we have the mark-up attributes. These are attributes that apply directly to the model herself and cover such things as pubic hair style, and various types of body modification: tattoos, piercing, breast augmentation, etc. Normally what you specify here will be automatically copied into the attribute marking of all sets she's involved in. That's not to say it isn't possible to remove specific details on a per set basis - it is. Thus if a model gets a tattoo or boobjob later in her modelling career, these can be added to just those later sets. Generally it's a value call as to what is the most common state across the collection you have of her as a whole.
For Roxanne we set just two model attributes - shaven because she is in our sets and piercedtit because she has a stud through her left breast's nipple. Once we've selected these, we can click on the Summarise Changes button and we'll move on to the next model manager screen.
At this point, since we're creating a new model record, we go through the process of inserting a new record -- that is the database terminology for it. The first screen we see after the main model data entry screen, is the one shown below which summarises what the new model record will look like and shows you the headshot that it's going to use so you can confirm it's all as you expect. Notice that we do actually show you the SQL command we're using at this point. Should anything go wrong and you're seeking help - please cut and paste this SQL statement into the request for help - it will make it much easier for us, or whoever you get your support from, to work on solving the problem.
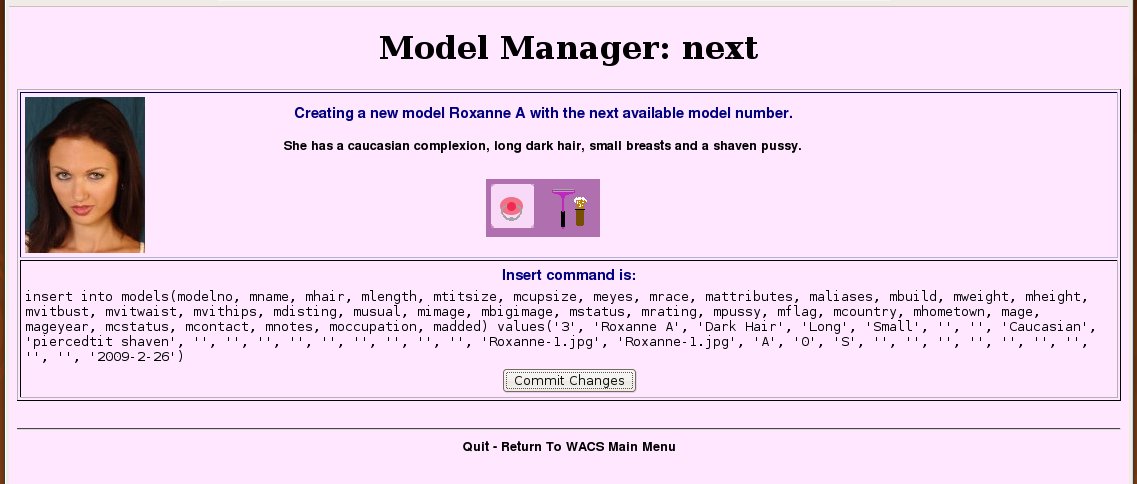 |
Do take a careful look over the details given here just to make sure that you haven't made any obvious mistakes, like misspellings or ticking attributes that just don't apply. Once you're happy, click on the Commit Changes button and you should see this:
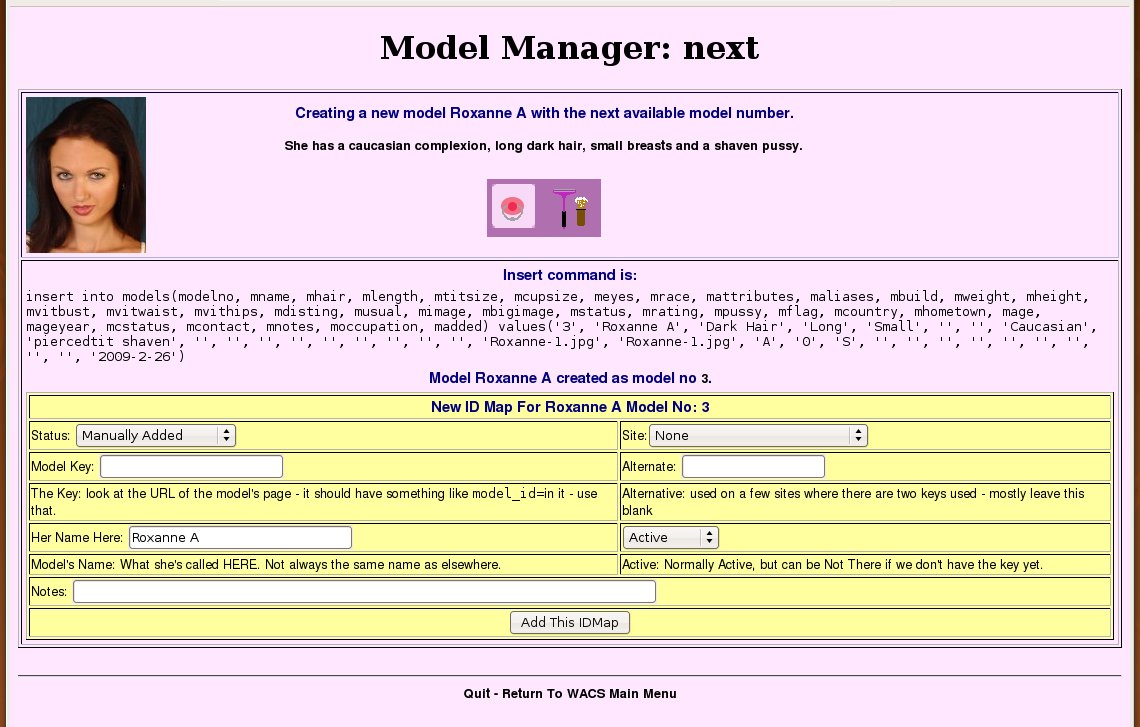 |
As you can see this confirms that the main model record has been created and immediately prompts you to enter an initial identity. You don't have to do this, you can click on the link over the “created as model no” link or on the Quit - Return To WACS Main Menu link at the bottom. The pull down menu allows you to select from the predefined sites. You can add additional sites using the Wacs Vendor Manager (described here: the section called “Vendor Manager”).
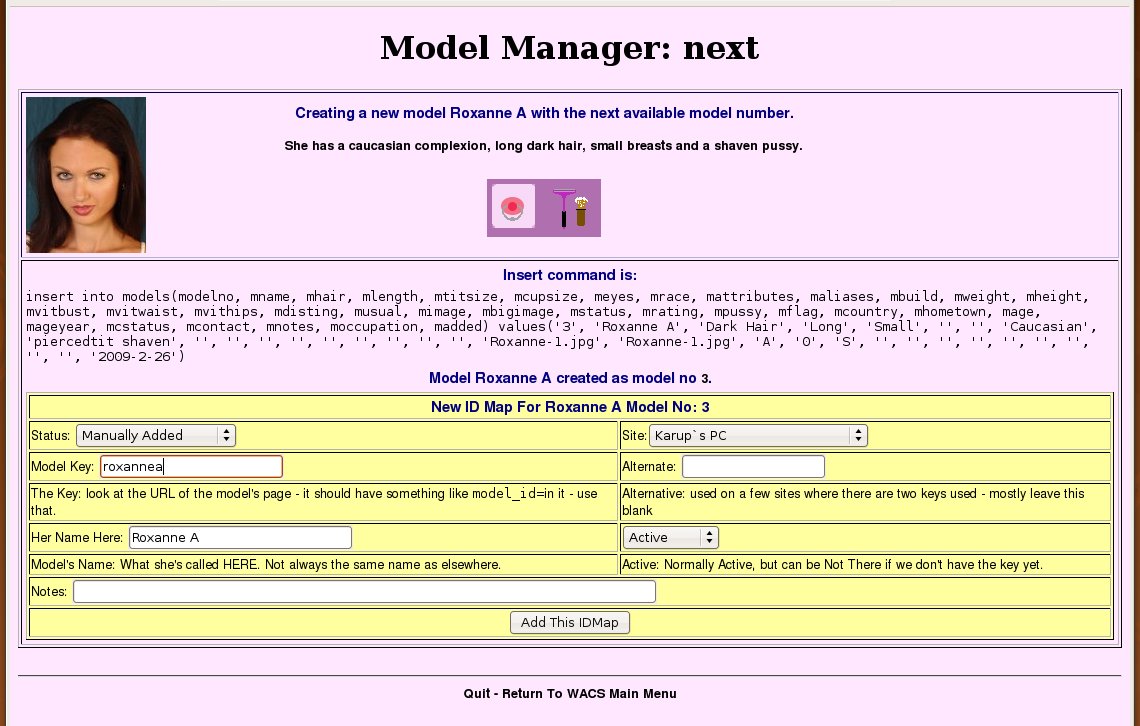 |
Here is a purely fictious example of an IDmap for a fictious model
called Roxanne A, but hopefully it'll illustrate how we add a new IDmap.
We actually only need to add two items over and above the defaults - the
first is the Site where we've selected
Karup's PC from the pull down list; the second is that her
key here is roxannea (which doesn't exist BTW).
If we'd been working on Sabrina, we'd have choosen Sapphic
Erotica, entered a key value of 422 and
added a space and a capital M after her name as
she is known there as Sabrina M instead of just
Sabrina. Once we've got the necessary information
entered into this form, we click on the Add This IDMap
button and the IDMap should be added to.
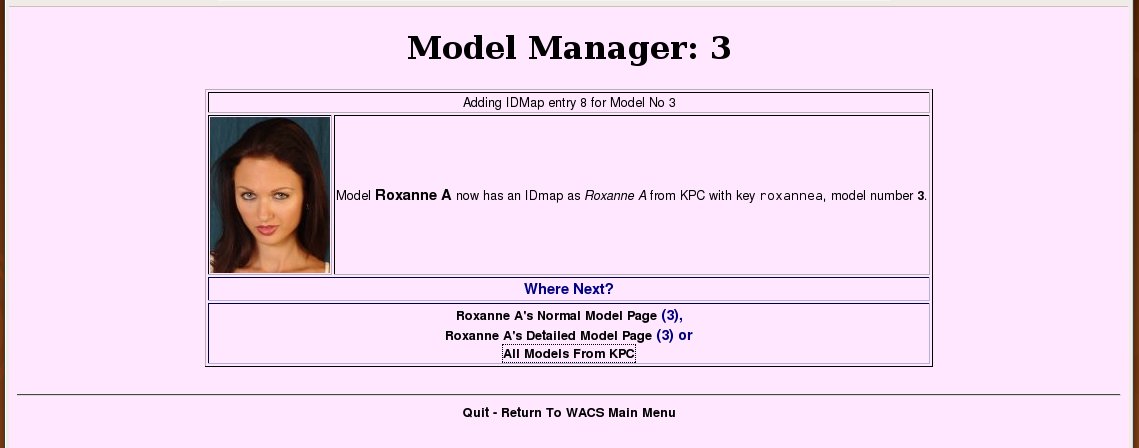 |
This page basically confirms that our new initial IDmap has been added and offers us a number of alternative “Where Next?” options. At this point we've basically finished the process of adding a new model to the WACS system - granted it's a little involved, but it is still fairly quick and easy. In addition to adding new model records with the Wacs Model Manager, it is also possible to add new model records using the command-line based addmodel facility, although mostly these days that would be used when creating scripts to import models automatically from other systems. More information can on addmodel can be found in Chapter 16, Command Line Tools.
We have now covered how you create a new model using wacsmodelmgr but that only covers a fraction of what it's capable of. It can also update existing model records, import model records from XML files and add new IDmaps (records of a model's identities on various sites). We'll look at just the updating of existing model records now and cover the rest of these topics in a later chapter (Chapter 15, More About Model Manager).